

A vast majority of the hunting I do here in the Southwest is spot-and-stalk. If you’re in a different part of the country or prefer a different style (more power to you, by the way), then you might not be as familiar with the toll sitting can take on your body. Yes, that’s a weird sentence. But, a full day of hunting for me involves hours upon hours of sitting on a hillside covering everything I can see with my glass. If nothing cool happens, I’ll pack up my stuff, hike a little ways to a new vantage point, and begin another session of hours sitting behind my binoculars. Then I’ll return to camp, start a fire, cook my dehydrated dinner, and - you guessed it - sit for a while. Honestly, if it weren’t for all the hiking from spot to spot, I’d probably gain a ton of weight over a week-long hunt.
The point is this: I’ve tried every conceivable sitting configuration, and still have yet to find the perfect solution. I’ve searched for the perfect log, the flattest rock, I’ve brought portable chairs along for the ride, and of course I’ve spent plenty of time sitting in the dirt. Eventually, my back, butt, or some other random body part will start aching, and I’ll have to change the situation. I’ve even been known to re-set my extra-tall tripod just so I can glass standing up for a while.
Where should you park it when setting up to glass for hours on end?
So, what is the best option? Well, that depends on a whole pile of factors that differ from person to person and hunt to hunt. But, let me walk through some of the things I’ve tried, the pros and cons of each, and maybe it’ll spark a new idea or give you confidence in making a purchase that will change your glassing game forever.
The Ground
Obviously, this is the cheapest and easiest option. Hike to where you want to be and sit down…that’s it. This can be right in the dirt, on a rock, on a log…your imagination and the world around you are your only limitations. That is the upside.
The downside is obvious to anyone who’s used this method…it’s pretty uncomfortable after a while. No matter what you find to plant your keister on, after a while your body will be mad at you. It’s also a really unpleasant option on a cold morning. You’ve climbed out of the tent, made some coffee, walked over to your glassing spot, and plopped down in the dirt or on a rock…your butt is instantly cold. And butt-cold is the type of cold that cuts straight to your bones.
To make ground-sitting more bearable, here are a couple tips I’ve found over the years. First, if you have an extra layer you can spare, you can fold/bunch it up underneath you and it will provide at least some cushion and insulation. You’ll still get a little cold, but it won’t be as bad. As for dealing with the aching back and numb butt that happen after hours of sitting in the dirt, I love using my pack as a backrest. If you can find a big rock or log to lean it on, it will make a great improvised chair. You can pull your binos in close and just lean back and glass your heart out. If you don’t have some way to keep it propped up, you can still lay your pack down behind you. Then I like to sit up and glass for a while, and when my back starts to get sore I just lean back on that pack for a little break. This works well with my glassing style anyway as I like to shift back and forth between looking far off, then coming off the binos for a couple minutes to scan the nearby areas and make sure nothing has walked in on me undetected (it also helps with eye-fatigue after glassing for hours).

Though the views are great, those AZ rocks are unforgiving on the backside.
The Chair
An obvious upgrade from any old log is the chair, and there are a number of great chair options out there for the outdoorsman. Whether or not you bring one (and what type you bring) will depend on the type of hunt you’re doing. If you’re glassing right next to where you parked the truck, might as well bring your beach chair from home. But, if you’re going miles into the backcountry to chase animals, you’re probably counting every ounce and every bit of space in your pack…a chair can quickly make the chopping block. Personally, I believe the difference in comfort leads to longer and more productive glassing sessions, so i’m willing to sacrifice some space and weight on all but the longest of hikes.
Of the backcountry chair options, I’ve used two different kinds with varying results. The first is the cheapo folding style that people usually buy to put on bleachers at a football game. Nothing much to it, just a seat and a back that are barely padded, but provide some back support as you lean into it. The advantages are that they’re cheap, pretty light, and also you can set them virtually anywhere (whether the ground is flat or not). The downside is that you’re still sitting on the ground (still cold in the morning), and they don’t pack down really small. You fold the two halves together to make it flat…and that’s it. Now you still have an 18” square that can really only be strapped to the outside of your pack.
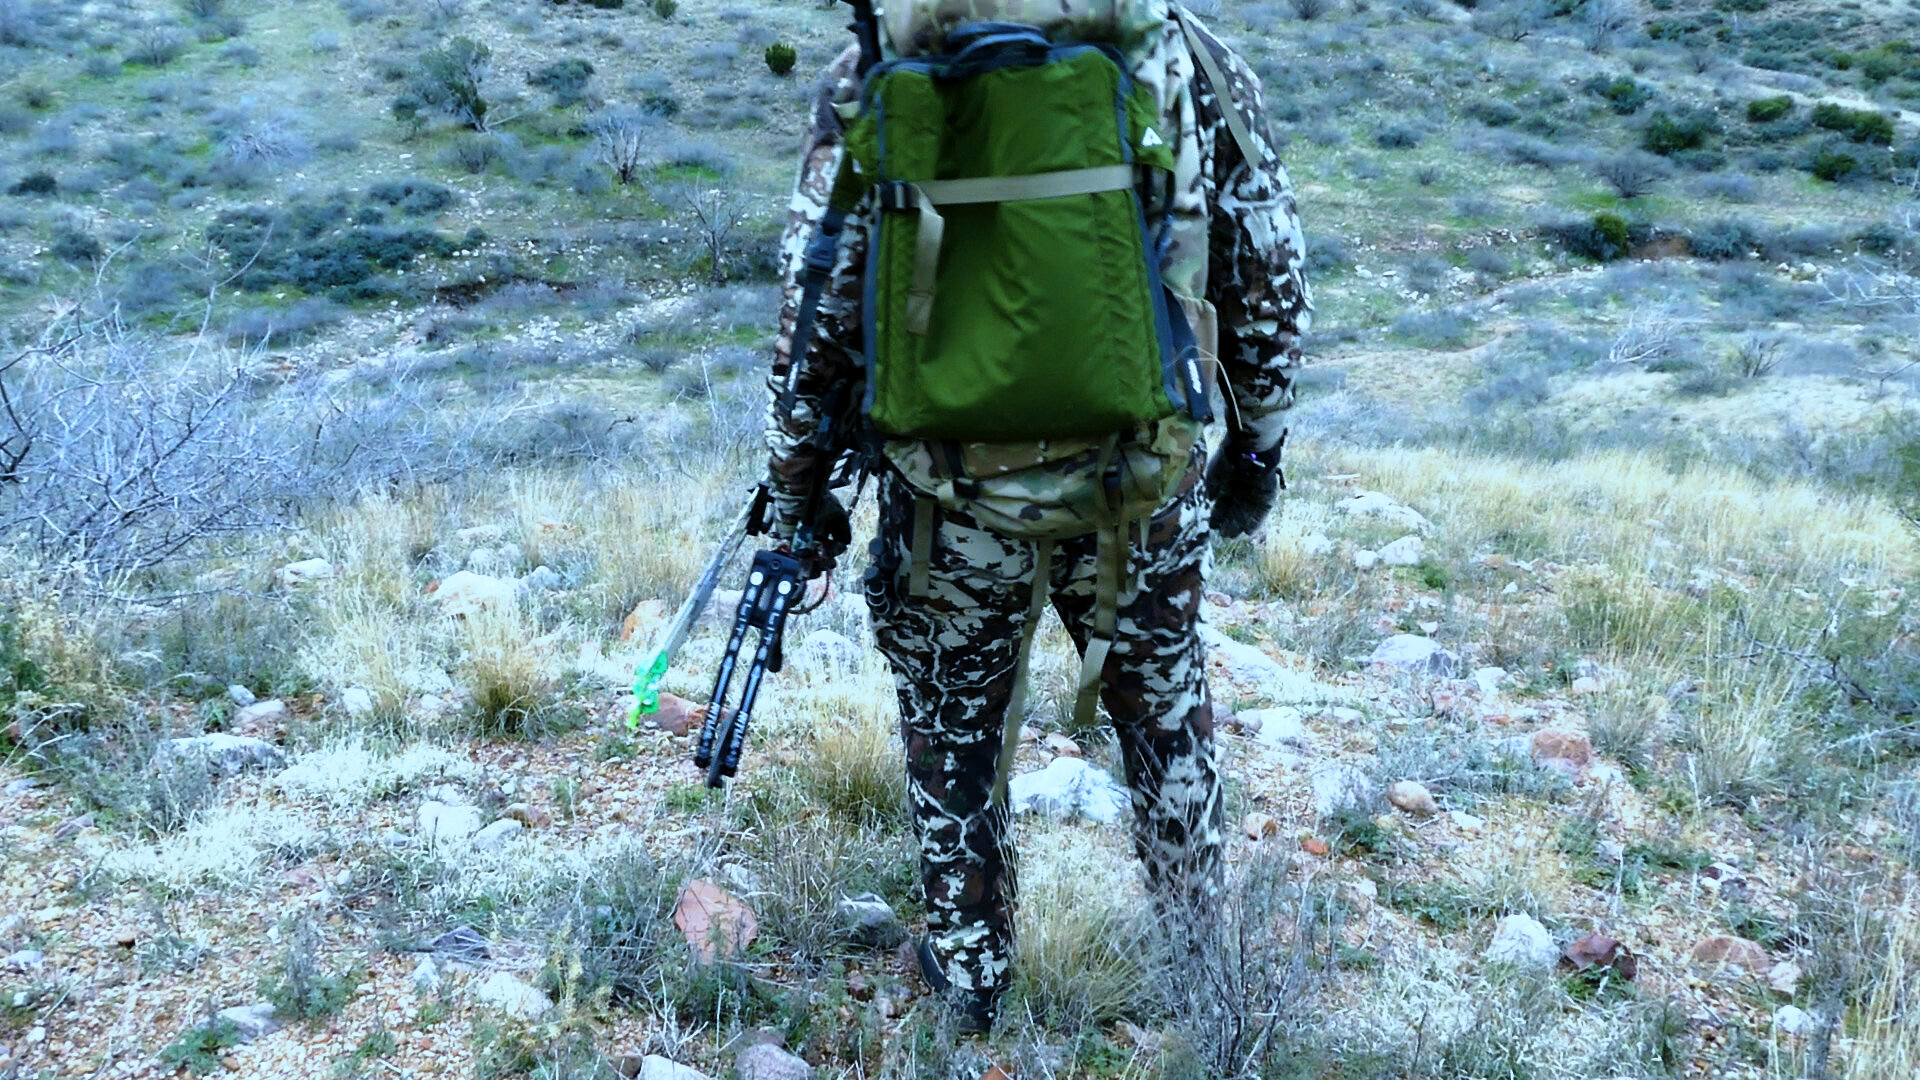
This chair doesn’t pack very elegantly, but it can definitely get the job done.
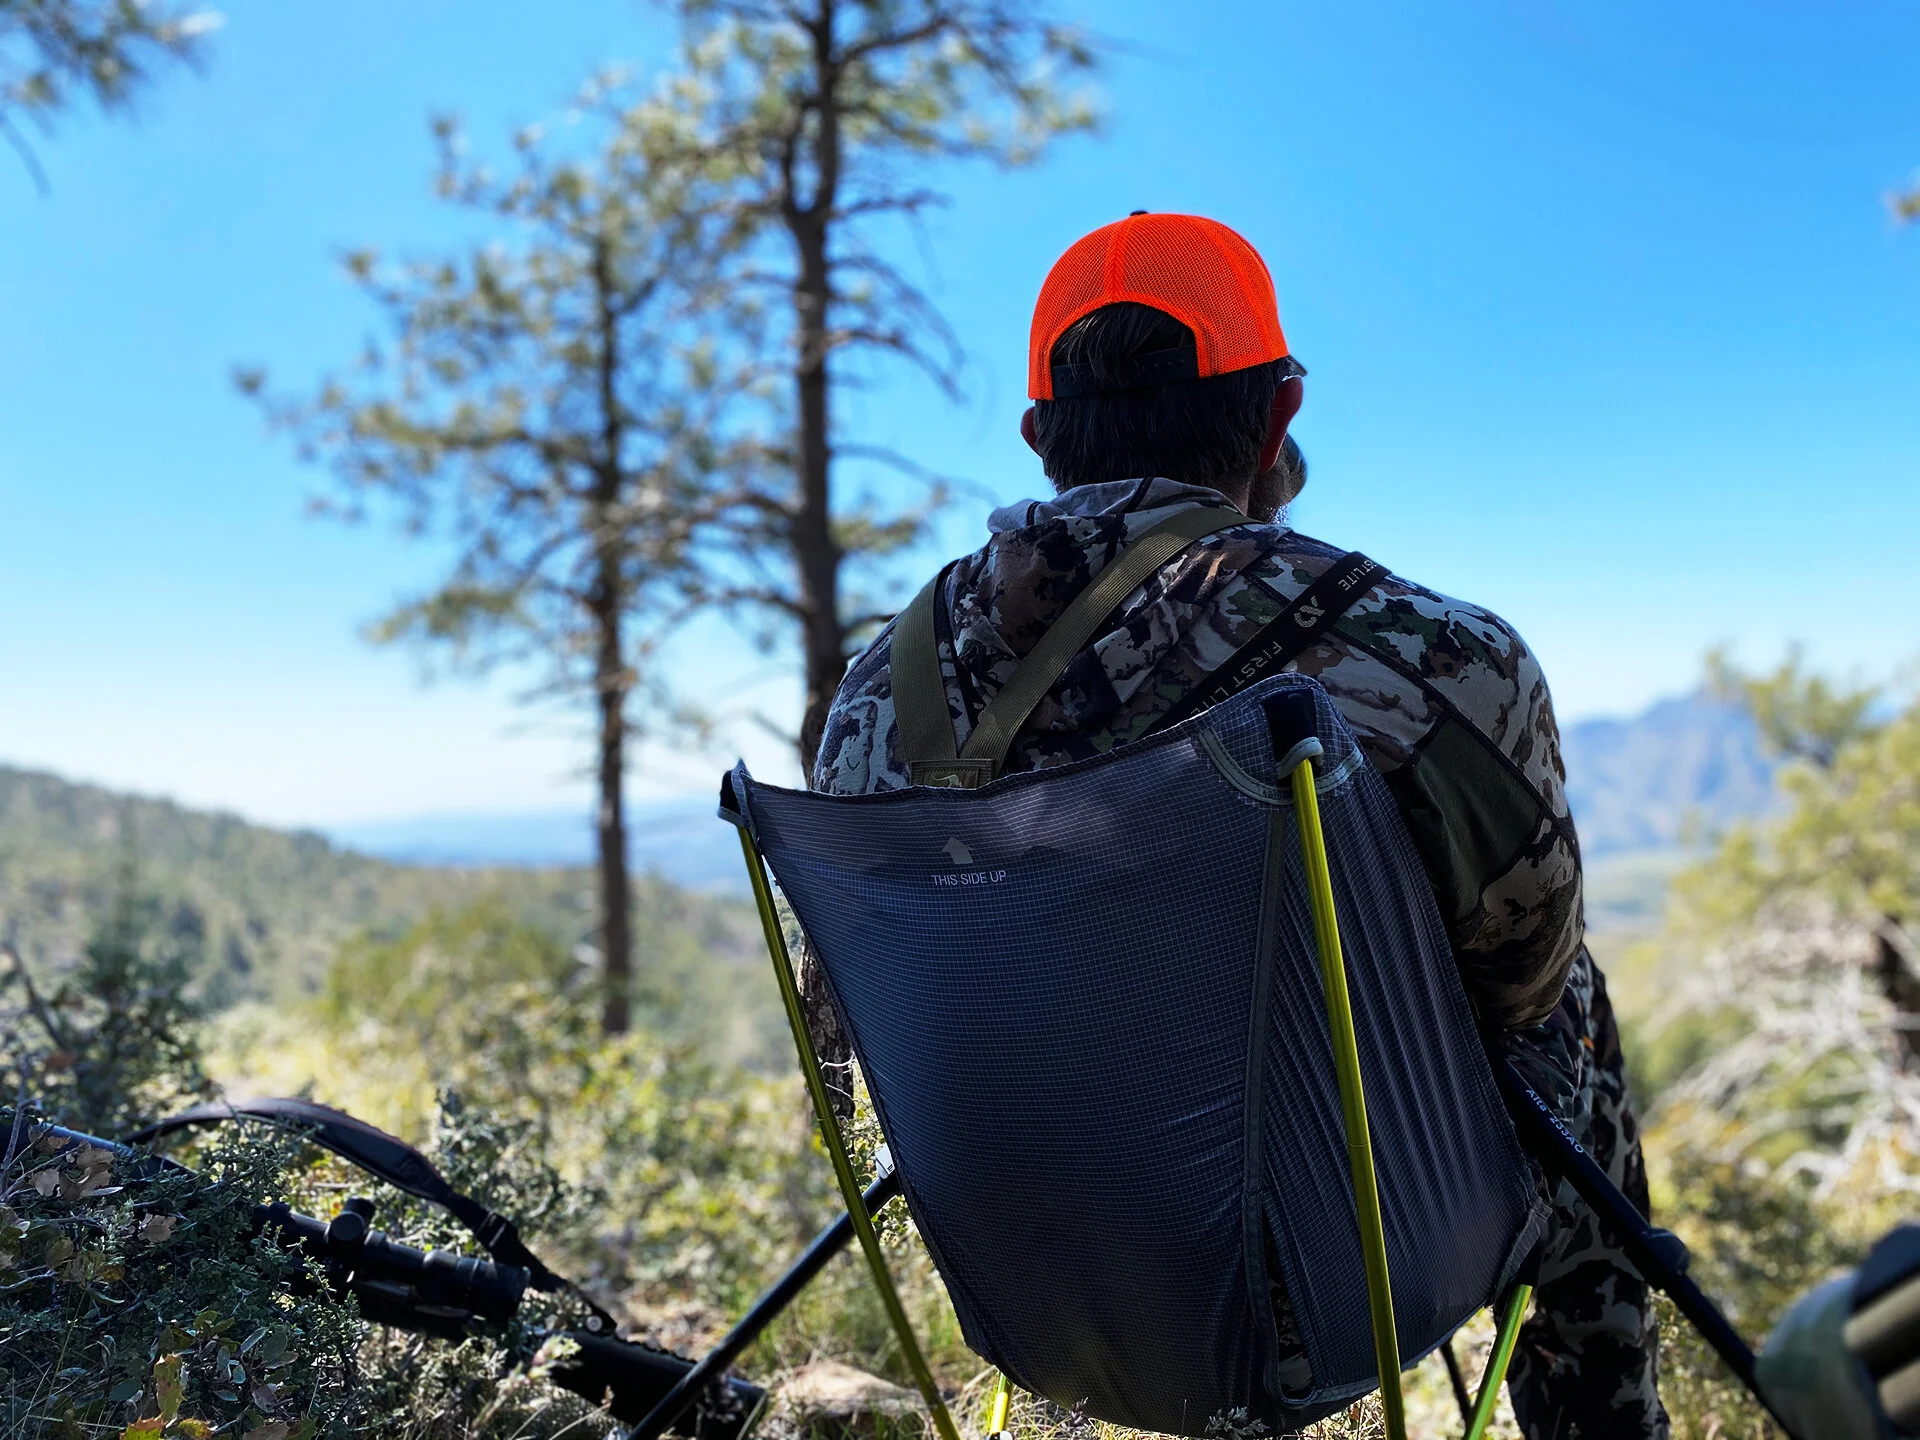
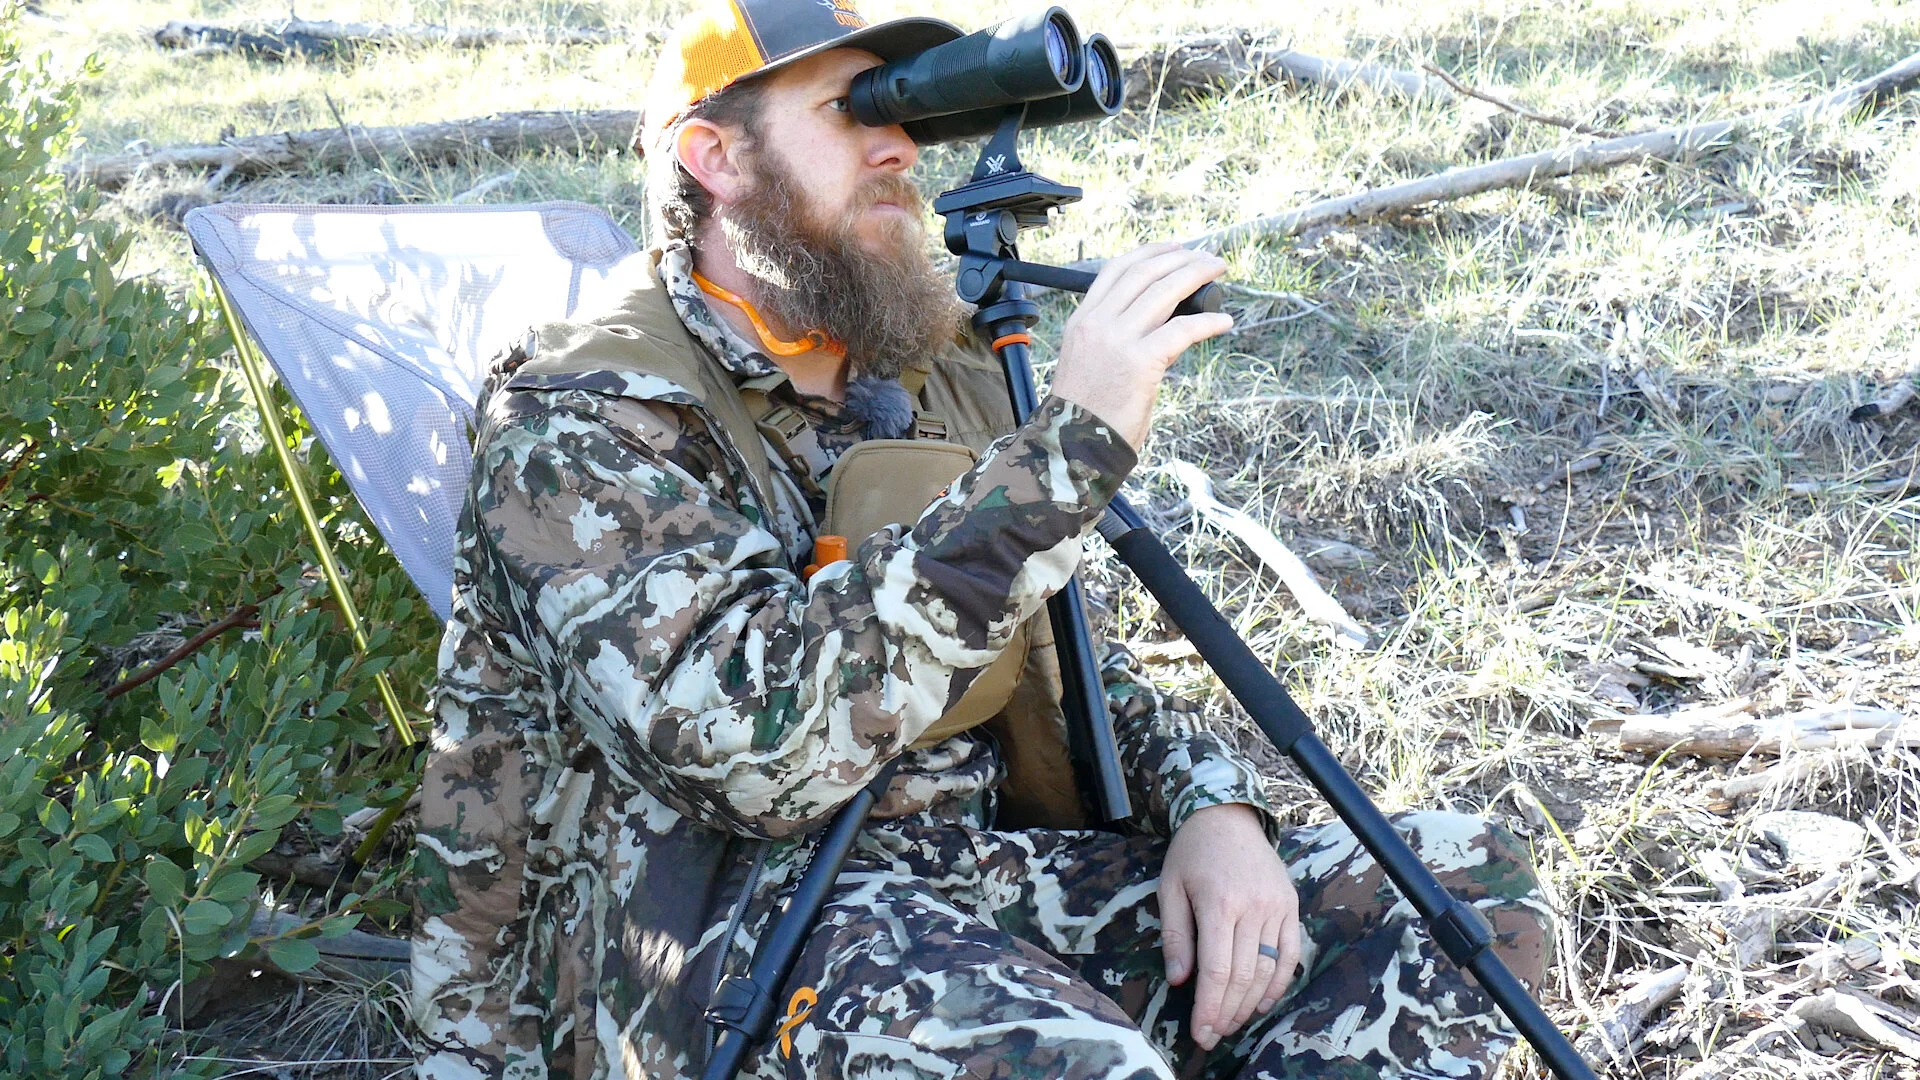
The second chair option I just began experimenting with is the ultralight backpacking chair. This is a legit chair with a frame you assemble and a nylon “hammock-style” piece that supports you. The advantages are that it is definitely the most comfortable option, it’s super-light, and it packs down really small and doesn’t take a ton of pack real estate. The downsides are that it is definitely the most expensive option, and it can really only be used on perfectly flat ground. When mine arrived the tag said “use only on flat ground to avoid tipping,” and I thought, “duh…just another idiot warning on a simple product.” They were not kidding! If you have any slope to the front or either side, you will expend more energy just trying not to slide out of that chair than if you were standing.
I just took this out for a day-hunt for Spring bear, and I set up in four different glassing spots over the course of the day…in three of them I couldn’t find a perfectly flat spot. I tried shimming low or soft corners with rocks, and that helped a bit, but I could still tell one of my legs was ever so slightly working constantly to keep me balanced in that thing. In a couple of spots, I just ended up sitting on the ground in front of my chair because I got sick of dealing with it. Now, that may sound like a reason not to spend the money, but I must say that the one spot I picked where I found a perfectly flat spot to place the chair…heaven! I have literally never been so comfortable glassing. I could plop down in that chair (well, it’s rated for 265 lbs. and I’m at 212, so it was more of a careful easing into the chair), I could pull my tripod right up to me with the legs on either side over my hips, and I could sit there for hours just glassing away. I was warm, my back didn’t hurt, and my butt wasn’t numb! At barely over one pound I think I’d rather have the chair and accept that I won’t be able to use it at every glassing point. Just knowing that back at camp and in the right glassing spot I’ll be hyper-comfortable is worth it to me.
I realize the foolishness of sitting on the ground in front of a chair, but I just couldn’t balance myself anymore.
Standing
On every day of hunting, I seem to find myself standing up to glass at least a couple times. If I’m spending every daylight hour staring at drainages, I just can’t stay seated the whole time. There are also some hillsides where I just can’t find a perfect clearing and standing provides some much needed clearance to peer over the nearby brush and see the adjacent hillside. As long as your tripod is tall enough (a lesson I learned the hard way after hours of hunched-over glassing), standing can be a perfectly fine way to glass…at least for a bit.
The one major downside to standing is a lack of stability in the glass. You’d never know how many tiny adjustments your body is constantly making to keep you balanced until you try to stare through binoculars while standing. No matter how still I try to be, there is always at least a little movement in the glass when I’m standing. Not only does that mess with your head after a while, but it makes it especially hard to really pick apart one of those “bear stumps” or “deer snags” when you aren’t sure exactly what you’re looking at. All that to say, I use standing as a quick solution when I just need to stretch my legs, but I try not to plan on long glassing sessions on my feet.
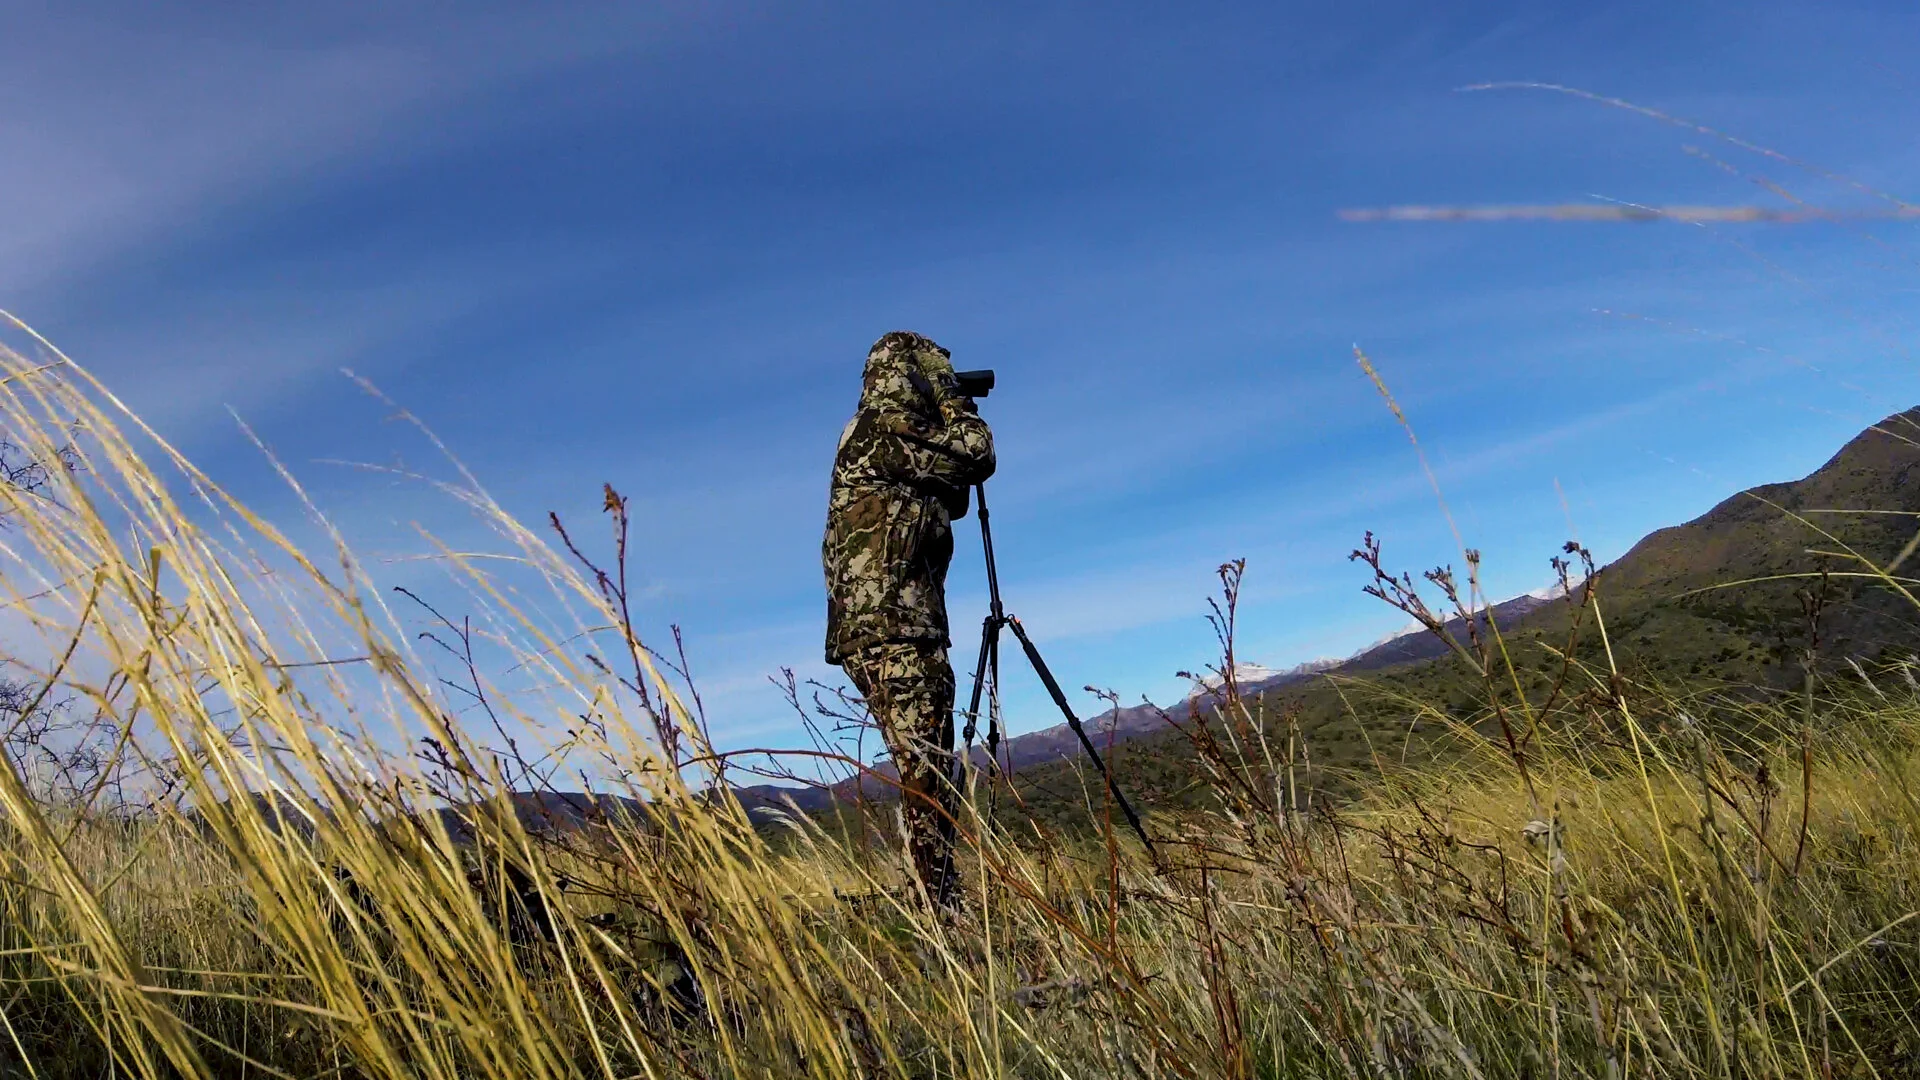
It’s a nice change of pace for a minute, but I don’t recommend long sessions of standing behind the glass.
The Bottom Line (Pun Intended)
I believe the more comfortable you can make yourself, the longer you’ll be able to spend glassing. The longer you glass, the more animals you can spot. And of course the more animals you see, the more opportunities for success you’ll have. If a small investment of money and weight in the pack makes it so you’ll actually look forward to climbing out of the tent early on that cold morning to glass, then it’s worth it in my book. That being said, choose what works for the type of hunting and terrain you typically do. If you can’t remember the last time you saw a flat spot near one of your glassing points, then a full-framed backpacking chair is probably not a worthwhile investment. But, if a simple cushion seat or folding bleacher chair will make you just a little bit more comfortable, why not strap it to the pack and give it a try? If you don’t like it, you can always ditch it and go back to sitting on the cold, hard ground.