

Why pay somebody else to do something you're capable of doing yourself?"
I don't know who gets credit for this quote (if it's even an actual quote...it might just be a thing people say or just a frame of mind), but this statement rattles around in my head whenever I have anything that needs to get done that I'm not sure how to do myself. And while I have definitely gotten myself in way over my head on some DIY projects as a result (taking an old bathroom down to the studs at 22 with zero construction experience comes to mind), most of the time I find that the task is actually not all that difficult. With a couple Google searches, YouTube videos, and an extra trip or two to the hardware store, I usually end up figuring it out and doing a pretty good job when all is said and done. And while I certainly enjoy saving piles of money by not hiring the job out, what I love even more is adding another man-skill to the proverbial toolbox.
One of the little jobs on my list that could have been hired out but I knew I wanted to learn and had never gotten around to was how to shine shoes or boots. I had read articles and understood the general concept, but for some reason the $20 investment in a few basic supplies and a few minutes of my time was an insurmountable obstacle. (The truth is it just wasn't high enough on the priority list). However, after looking at my two pairs of quality, all-leather boots definitely starting to show their age, I knew I needed to suck it up and figure this out. Everyone will tell you that a good pair of boots is an investment that - IF PROPERLY CARED FOR - will last you years and years. As a man who possesses freak-feat (I wear a 14 narrow, which few companies even bother making, and no stores EVER have in stock), I knew I wanted my boots to last forever. After all, it's usually finding boots in my size that takes longer than finding the money to pay for them. If I let these boots fall into disrepair, I can't be sure when I'll find their replacements.
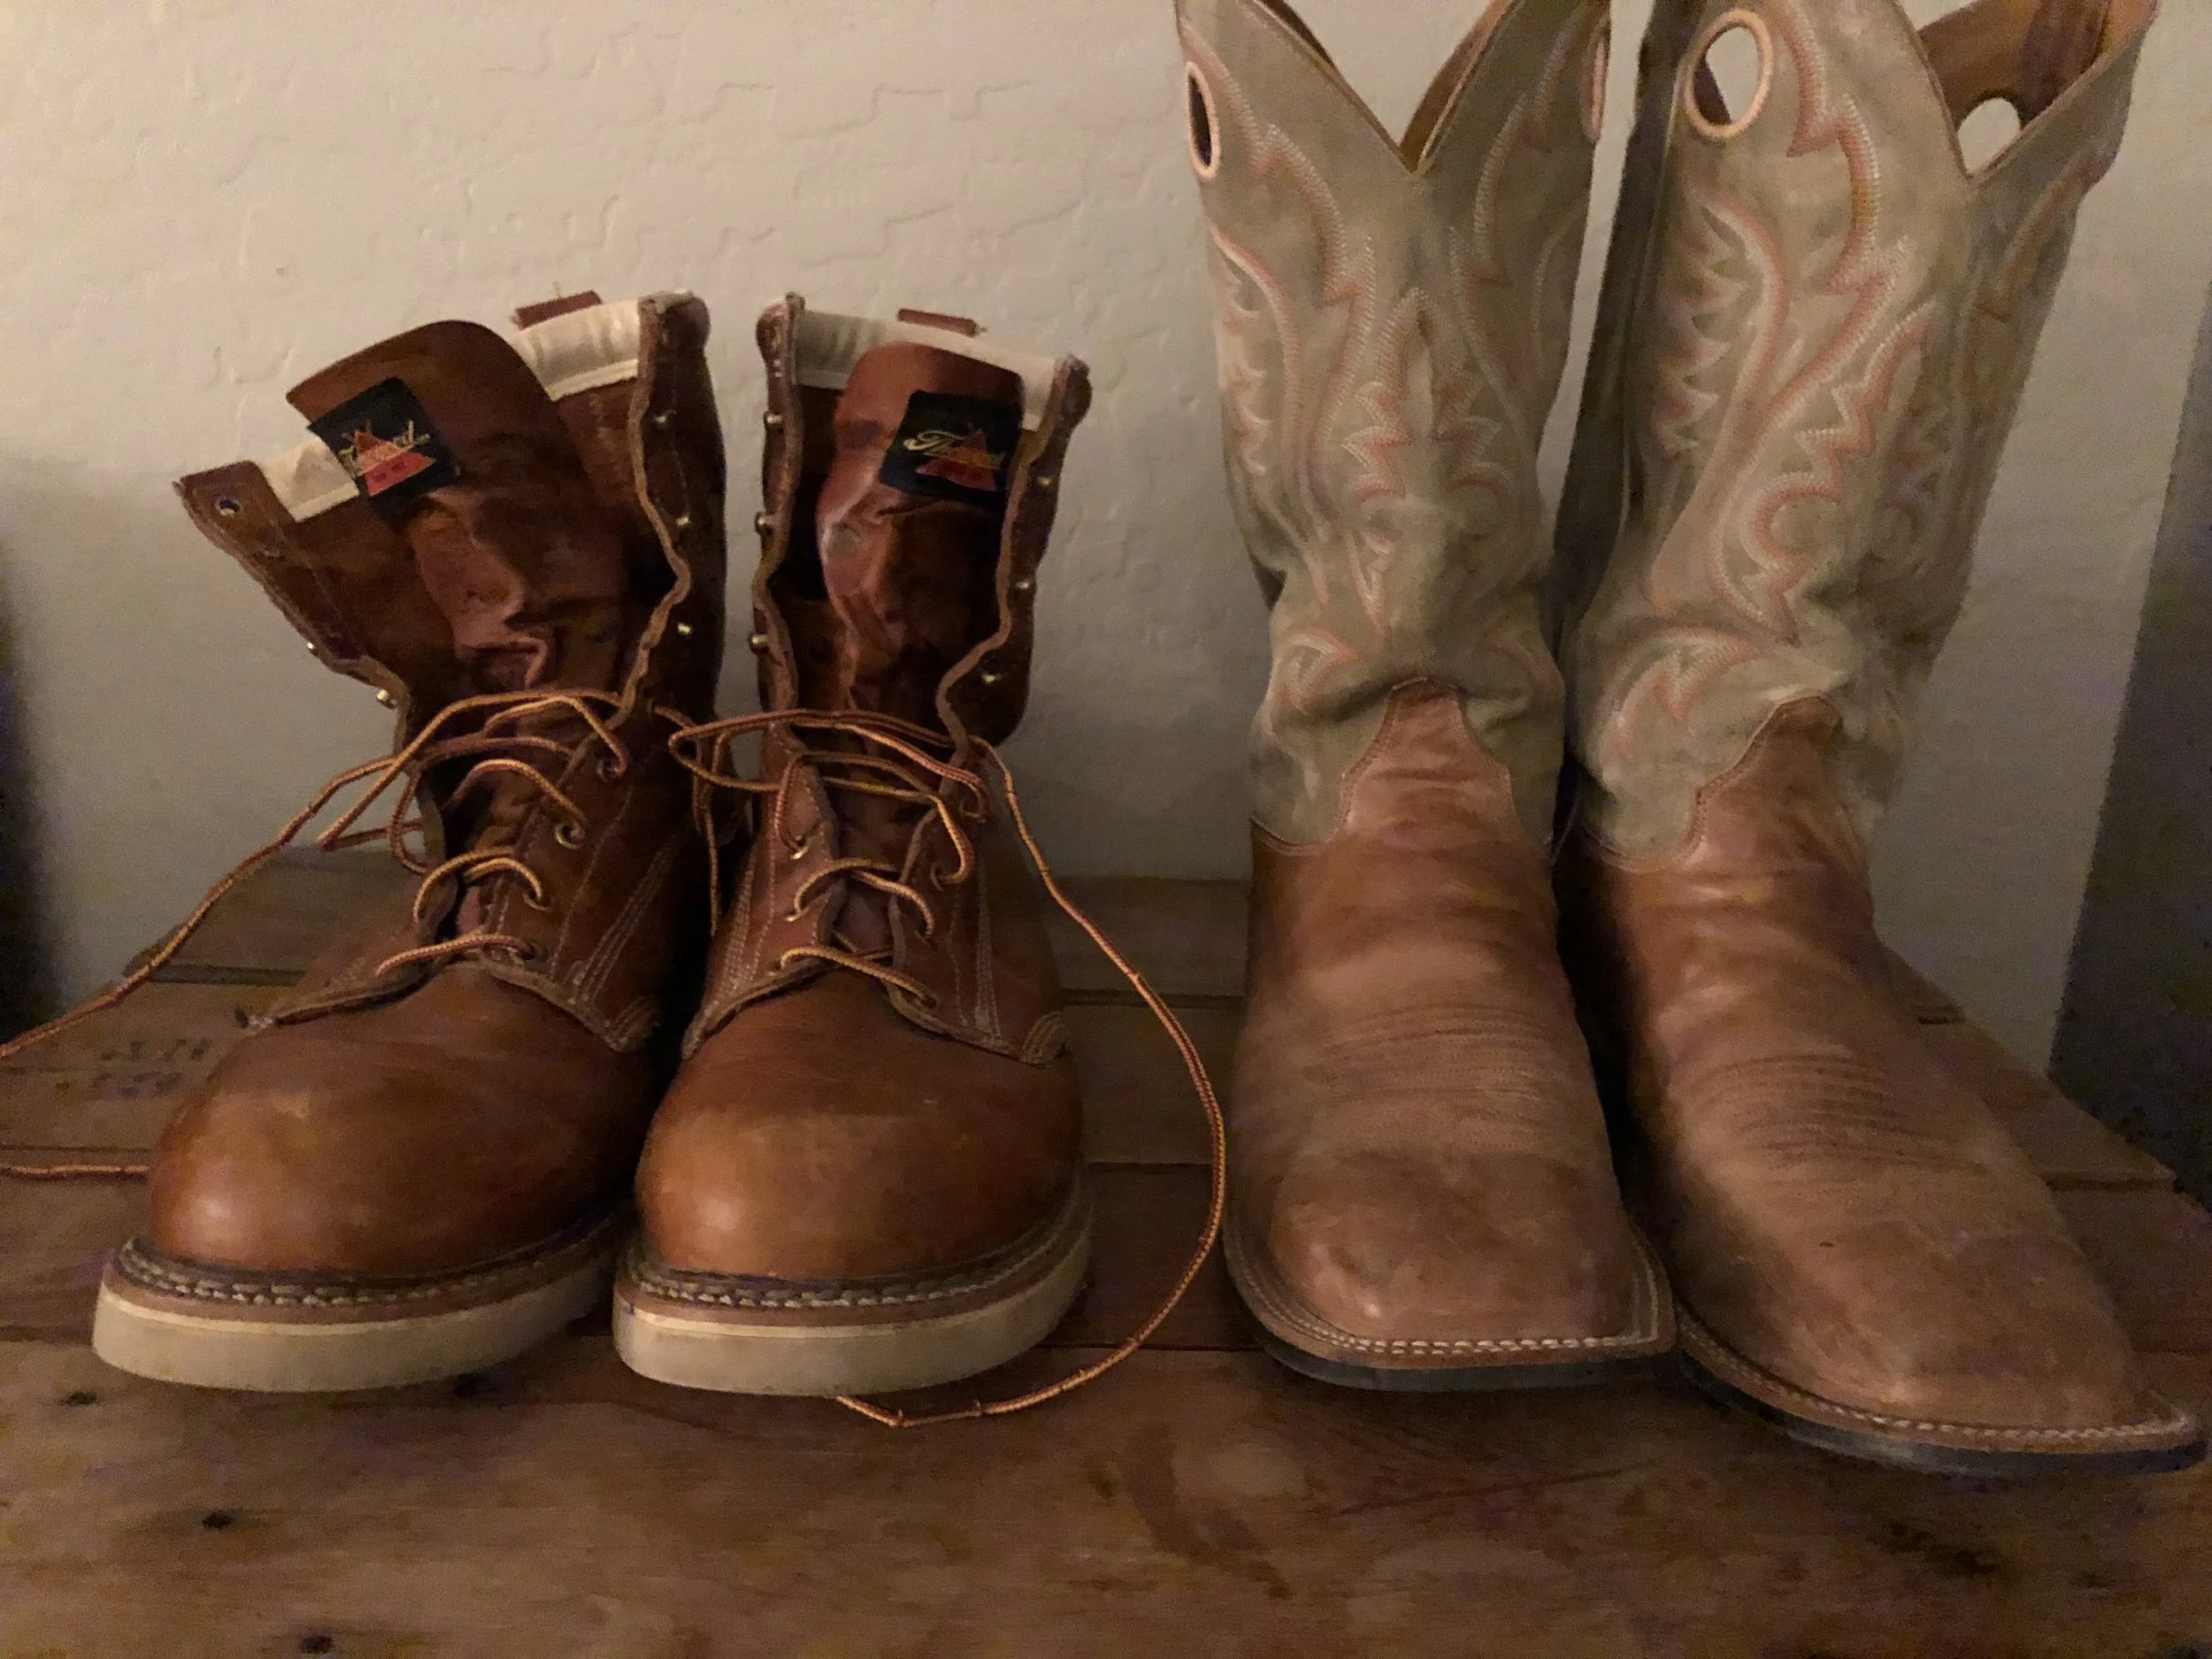
A pair of broken in boots that fit well are worth their weight in gold!!! Unfortunately, I had not treated these as such.
So, I finally dug up the old blog posts and articles I had read in the past, filled a quick Amazon shopping cart, and set out to spruce up the old boots in hopes of not only making them look better, but in preserving and caring for the leather so that they will continue to be my favorite footwear for years. As it turns out, the process was remarkably simple, required a very minimal investment, and the boots look far better than I thought a simple shining would accomplish. More than that, I found it to be an incredibly gratifying and therapeutic process. It forces you to slow down, focus, and connect with generations of men long past that engaged in this task on a regular basis simply because they were men and that was something men did. I plan to shine my boots regularly now, just because it brings me joy. Alright, enough shoe philosophy (sholosophy?), here's how to shine your boots!
WHAT YOU'LL NEED:
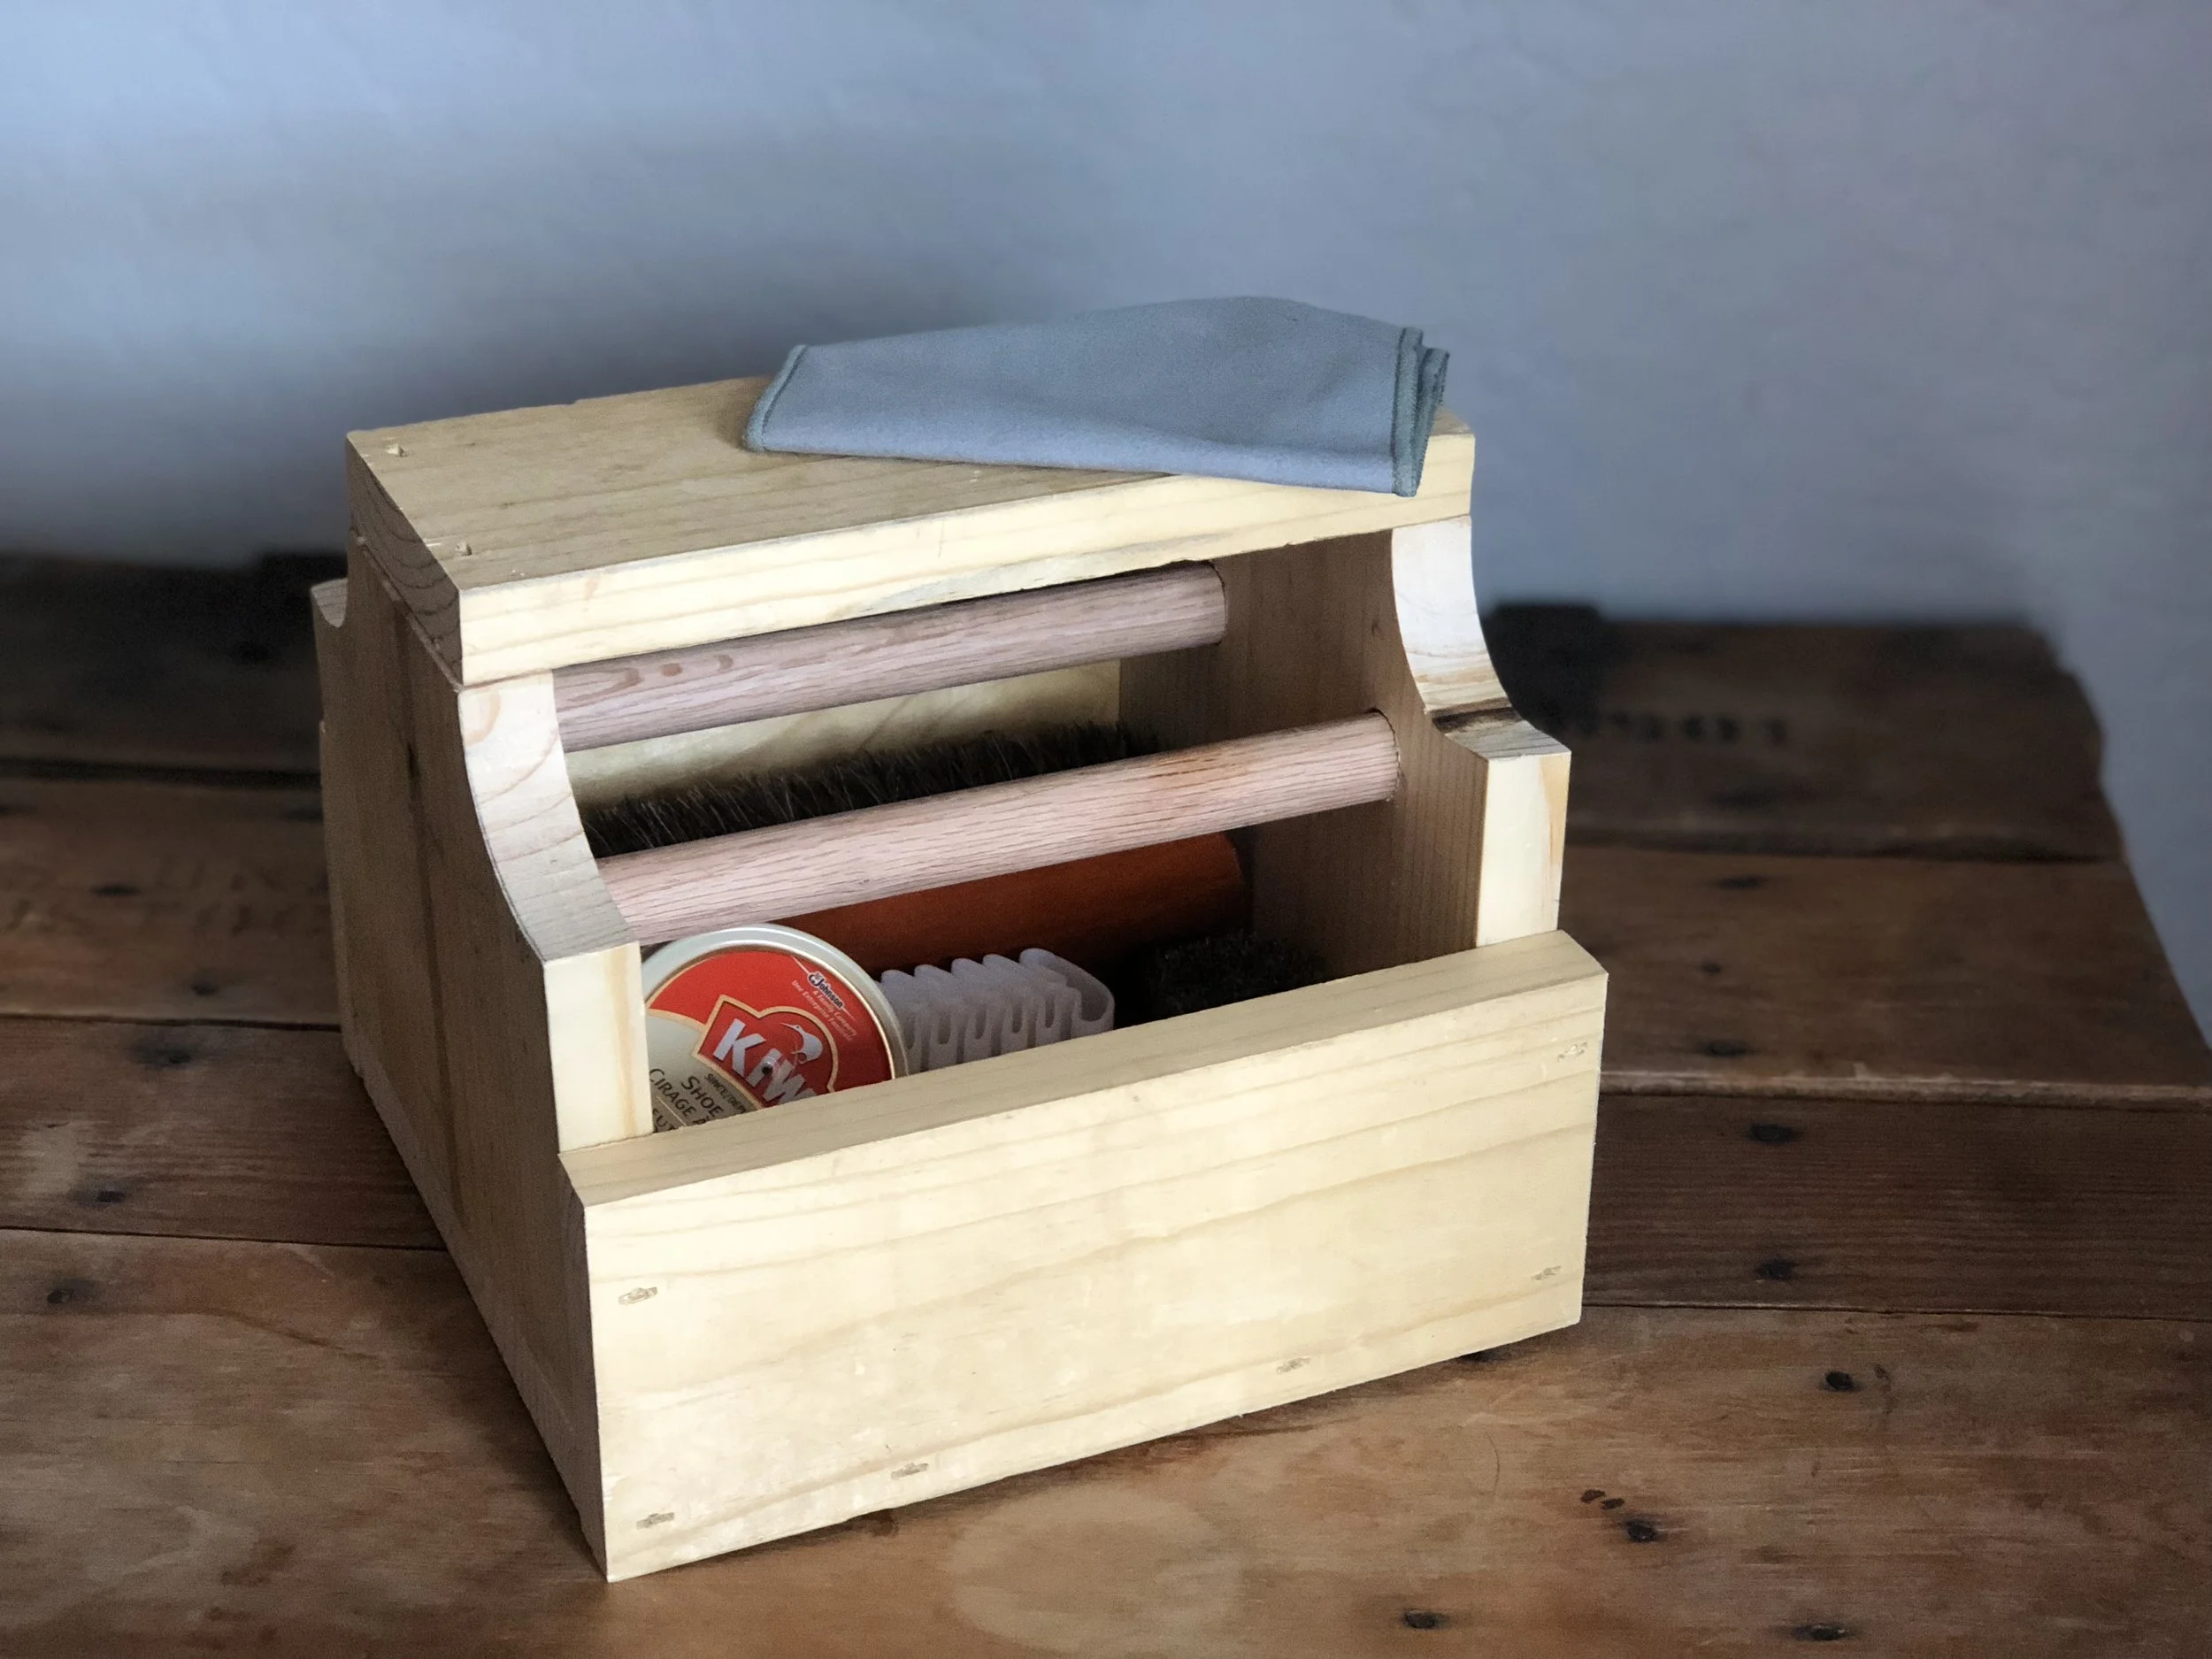
Everything needed to care for your fine leather boots or shoes...this thing reeks of manliness!
A simple Amazon search for "shoe shine kit" will give you over 1,000 results...so you have no shortage of options. I knew I was going to build a wooden box for holding the supplies, so I passed on all the "travel kits" that come with a cheap carrying case, and I also wanted full size brushes rather than the miniature travel versions. I ended up selecting this kit because it had all the pieces I wanted, had good reviews, and was Prime eligible.
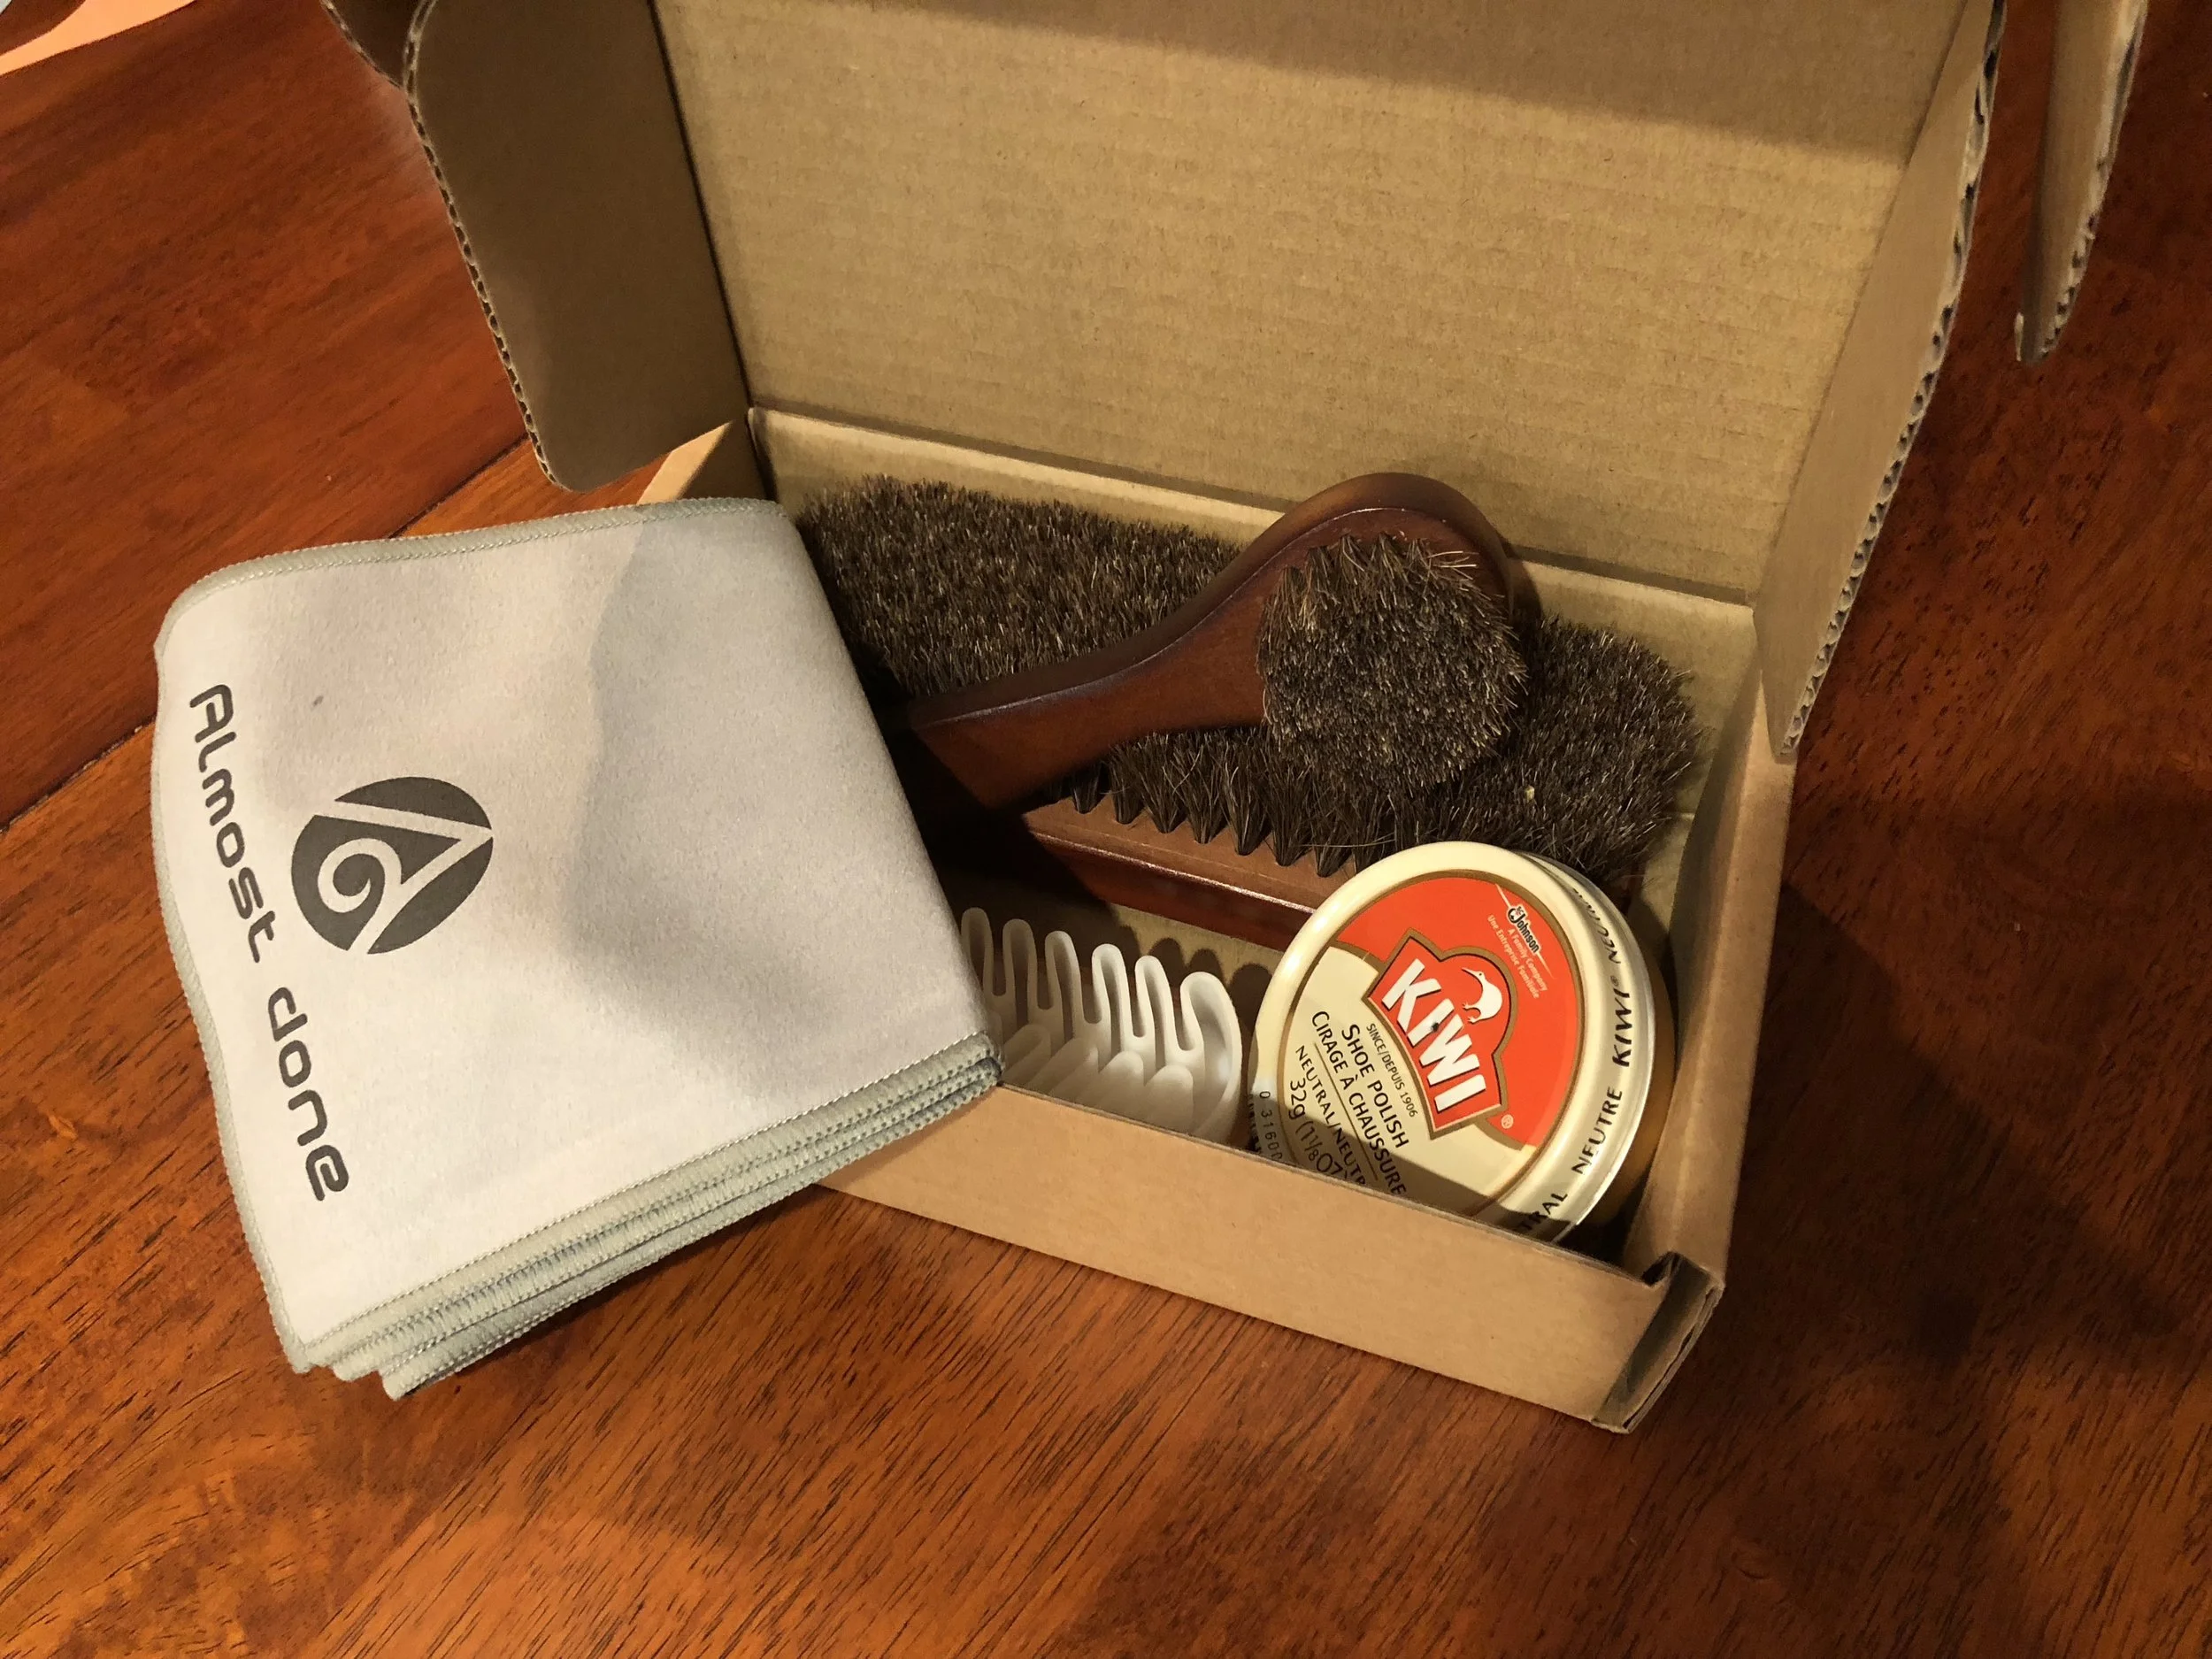
All ready to go. The white rubber brush is for use on suede, which doesn't apply to any boots I currently own, but everything else performed flawlessly.
Next, you'll need actual shoe shine. If you have black shoes or boots, that's a no brainer. Also, if you have darker "standard" brown shoes, that's easy. If, like me, you have a couple different shades of lighter brown/tan in your boot collection, you have one of two options: sift through the endless supply of colors available from Kiwi and other manufacturers hoping the color on your computer screen will perfectly match your boots when it arrives, or option 2 - go with "neutral." The neutral is basically semi-transparent, and I found it simply draws out your boot's original color when polished.
HOW TO SHINE YOUR BOOTS
Step 1: Clean all dirt and debris off your boots. This can be done with your new horse-hair brush if they're just a little dusty, or if you've neglected your boots for some time (or you're a rancher who steps in poop on a regular basis) you may need to get some water involved. I used just the brush on my work boots that were only about a year old and not looking too bad, but the cowboy boots had seen four years of hard use without a shine, so they required some attention from a damp paper towel to get the old dirt out of the nooks and crannies. If water was used, allow your boots to dry fully before proceeding.
Step 2: Open the can of shoe polish. This may sound obvious and like something that hardly warrants having its own step, but I assure you it can be misleading. Other manufacturers may do things differently, but Kiwi (the polish I chose) has a handy little twist lever on the side of the can that is designed to pop the lid up for removal. However, Kiwi does not specify this on the can or send an infographic along with each can to draw it to your attention, so it's possible you might sit there trying to twist and pry and swear a little bit as you attempt to gain access to your brand new polish...all the while wondering what that little silver thing on the side of the can is for. Not that you would ever do that, but it seems plausible that someone might. One way or another, you now have your shoe polish open and can proceed to step 3.

It's harder than it looks (that's what she said!!!)
Step 3: Take your dauber brush, and dab it gently into your can of shoe polish. You're not trying to get gobs of polish built up on that brush...you want just a light layer spread evenly over the boot. With your free hand inside your shoe or boot for support, gently apply the polish in tight circles, re-applying polish to the brush as often as needed. Don't panic if your boot looks worse after this step! When I first applied the polish, it was built up heavier in certain places and lighter in others which caused a dark splotchy effect and I was afraid I had just ruined a perfectly good boot. The next step is where everything gets evened out, blemishes get filled in, and you really see your boots come back to life.
Step 4: Brush lightly and vigorously with your horsehair brush. I didn't go in any particular pattern or direction...just back and forth all over the areas of my boot I was polishing. The brush smooths all the polish into a nice even layer, which fills in scuffs and blemishes, and leaves your boots looking like new. If you are working with some nicer dress shoes or boots that you want brought to a glossier shine, this is where you would finish up with a buffing towel or cloth (an old, soft T-shirt will work great). My kit came with one, but I did not use it much as I wasn't going for such a shiny look. But if you want to rock that mirror finish like you're one of the Beatles...to each his own. Just rub that cloth back and forth vigorously after using the brush to bring out the shine. You can even breathe right on the section of boot you are shining (as if you were fogging up a mirror) to heat up the polish before buffing to create even more shine.

The rhythmic back-and-forth with the brush is the most soothing part of the entire process...it's basically free therapy.
Step 5: Admire your work, put on your boots, and kick life in the acorns knowing that you have now joined the ranks of generations of men who knew how to do stuff.
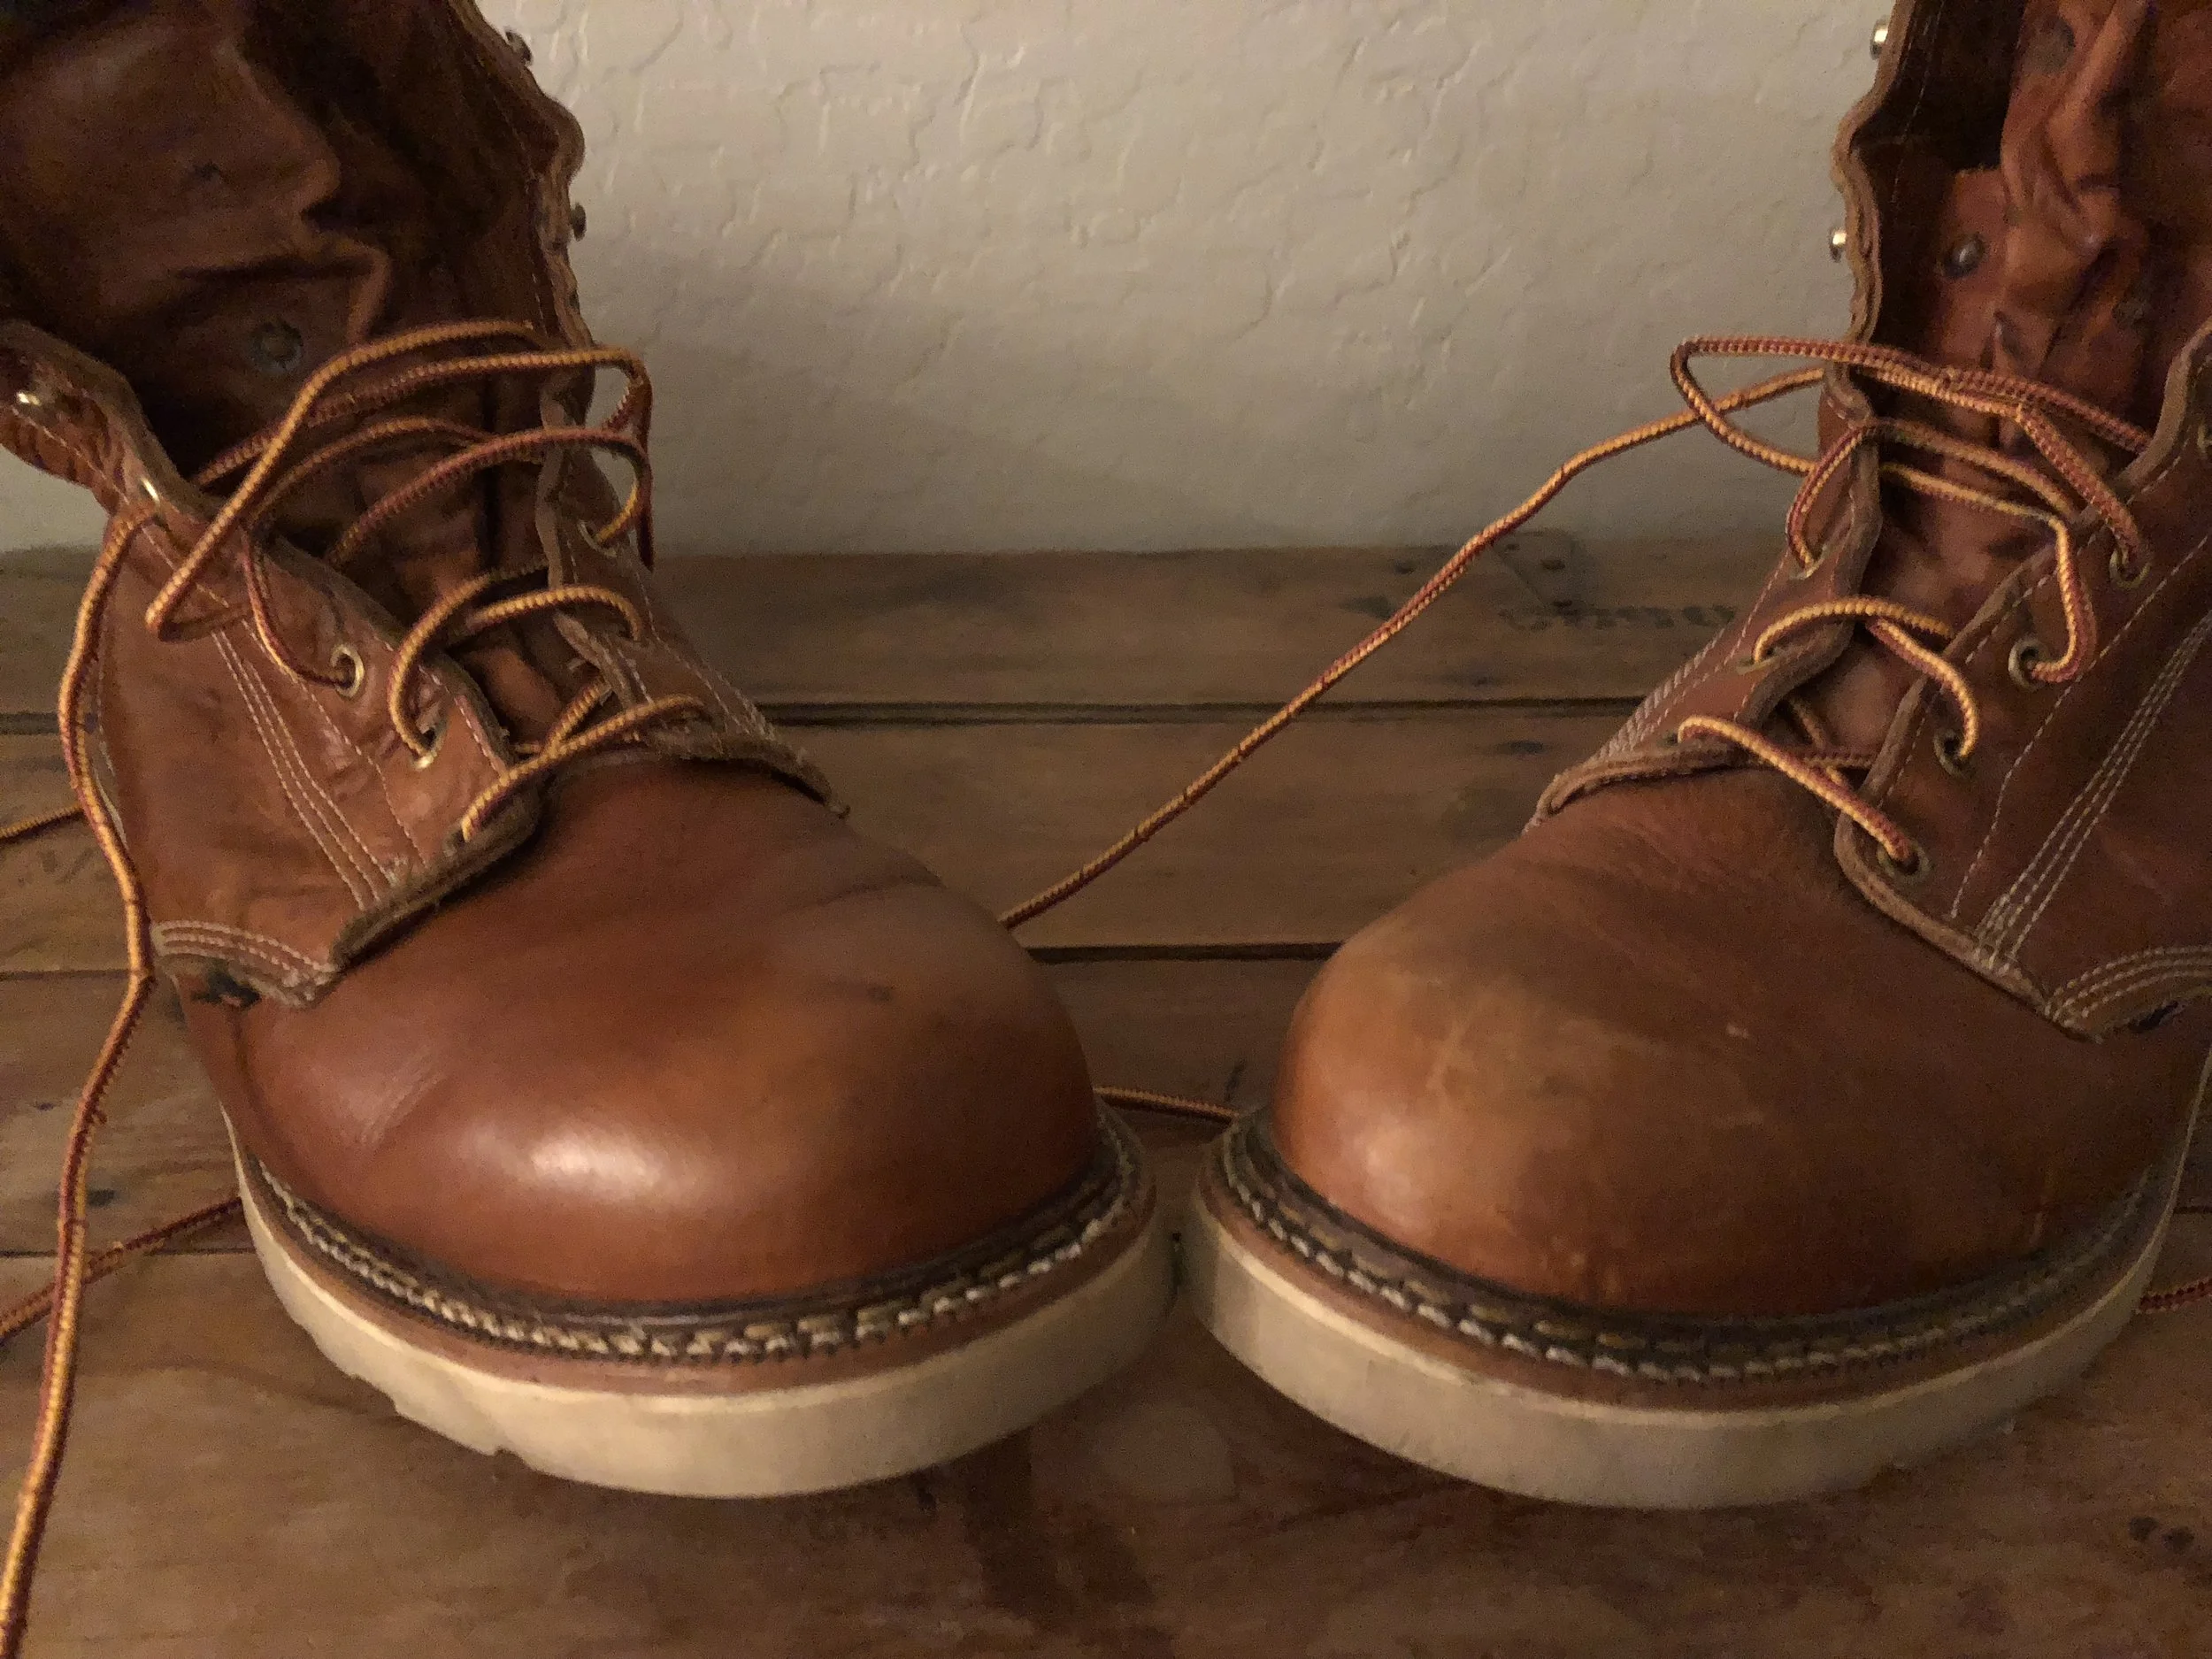
Left = freshly shined; Right = sad and neglected.
BONUS: Build yourself a shoe shine box to hold all your supplies when you're not using them, and also to provide a convenient place to do that final buffing or a quick touch-up while you're still wearing the boots. It is a simple woodworking project just about anyone can pull off, it takes $15 in supplies (provided you have some basic tools on-hand already), and creates a second layer of man-skills you will be exercising in a singular project...you'll surely have sprouted a handlebar mustache after this one-two punch of classic masculinity. I used this post from The Art of Manliness (which is one of my favorite websites of all time) to guide me in the process, and it's just cooler than a faux-leather bag or cardboard box sitting in your closet waiting for your next shoe shine.

Buffing for that final, mirror shine.
If my hunting boots were traditional leather and not Gore-tex, I would surely clean and polish them after every rough outing. The difference I saw in my cowboy boots (which had gone four years of consistent use without a single polish) made me a true believer in just how good this is for leather that is regularly exposed to the elements. Not only do they look a million times better, but I swear the leather feels softer, they slip on easier, and they are seriously more comfortable. I've never heard of a shoe shine being capable of such a transformation, but you can come try on my boots if you don't believe me. Of course, you didn't wear them before to have anything to compare it to...and there's not a whole lot of 14-narrow guys running around...and I really don't want your feet in my boots....okay, you'll just have to take my word for it.
So, what are you waiting for?! Click the links above to get your shoe shine stuff on its way, build the shoe shine box while you wait for the Mailman, and two days from now give those scuffed up, dried out, sad looking boots a fresh lease on life. Not only are you extending the life of some fairly expensive footwear, but you're adding another man-skill to your ever-expanding quiver of cool things you know how to do...and that's always a good thing! This is a very easy DIY project, and I would encourage anyone who owns shoes or boots worth shining to learn how to do this yourself. If you find and pay someone to do it, you'll just have to go back again...and again...and again. After one or two shines, you would have already paid the same amount your basic shoe shine supplies cost you in the first place. Use that money to invest in self-sufficiency, and build your manly knowledge-base at the same time.
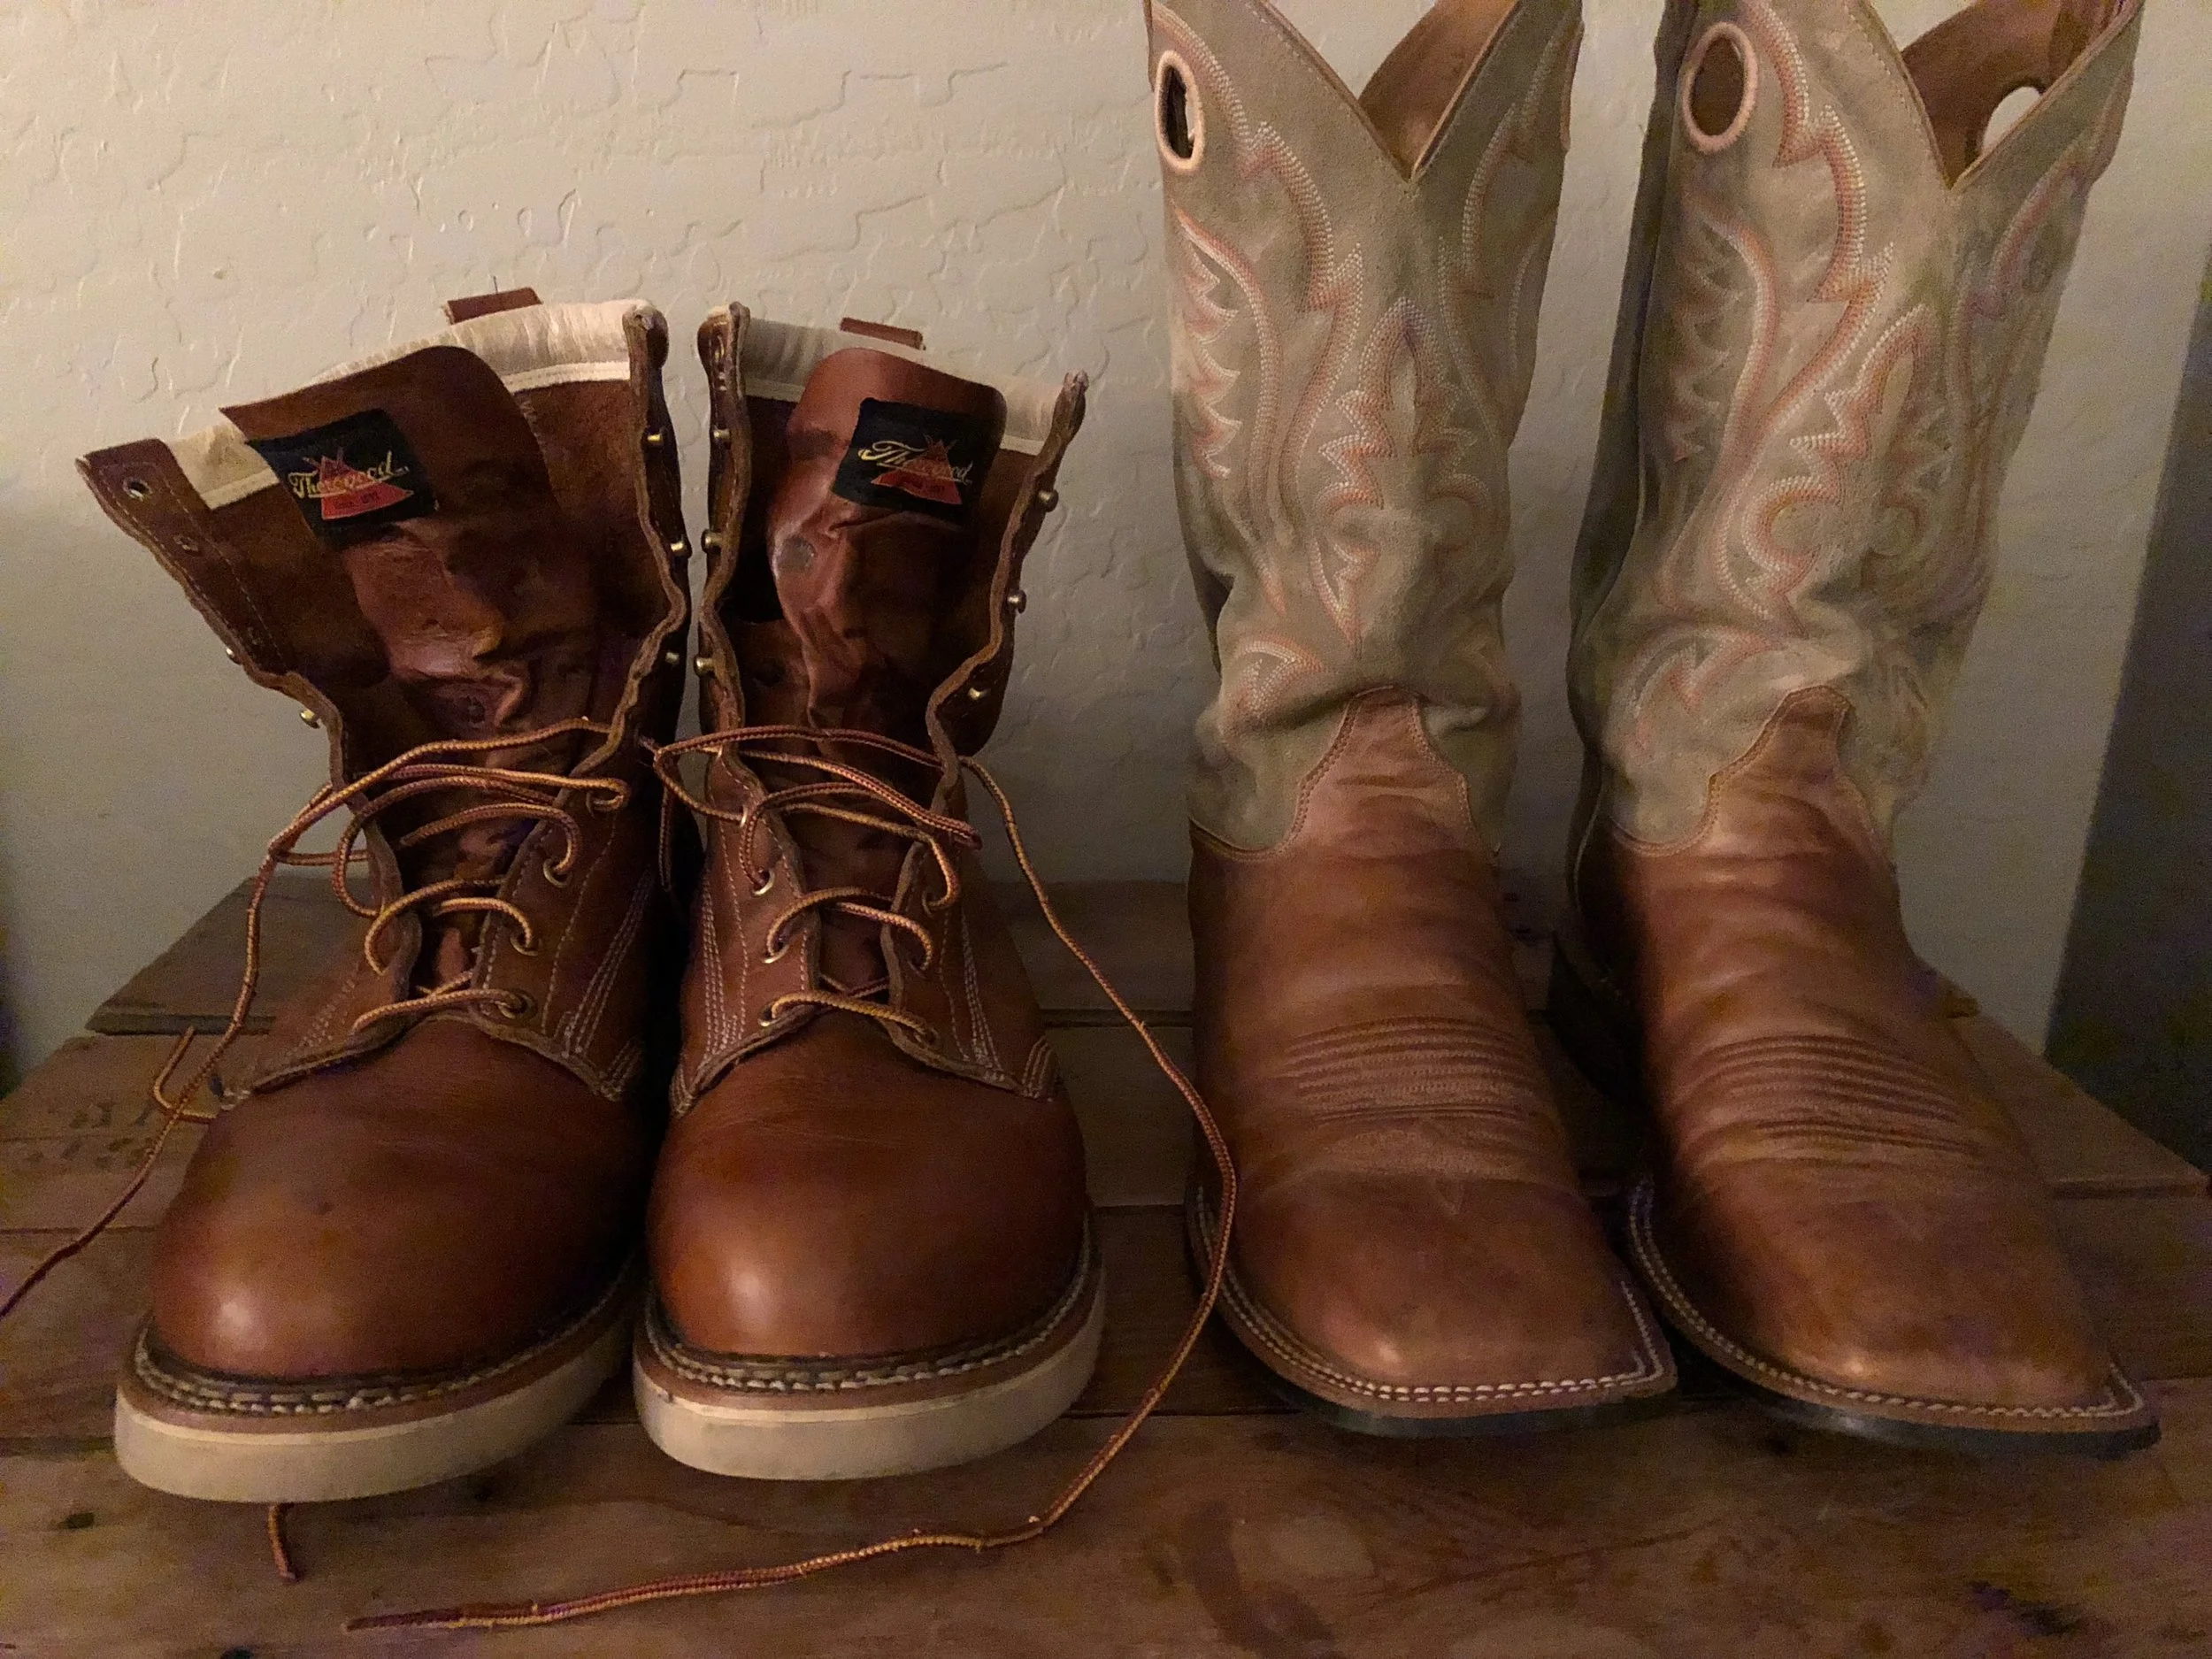
Good as new...only better, because they're still my soft, broken-in, hyper-comfortable boots!